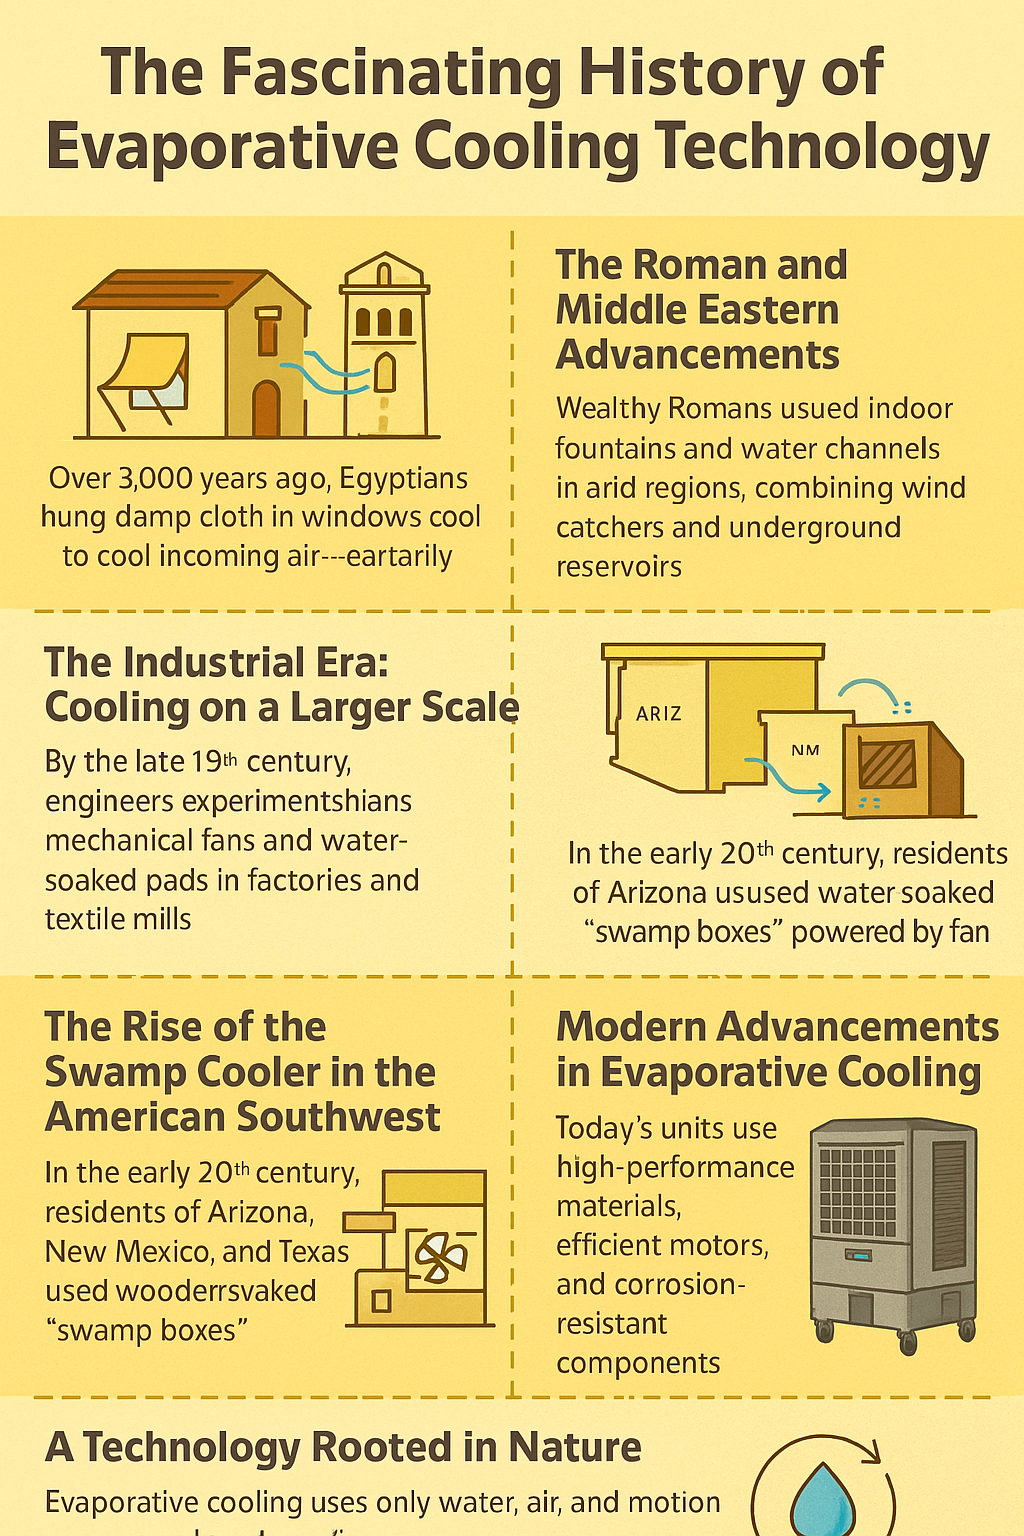
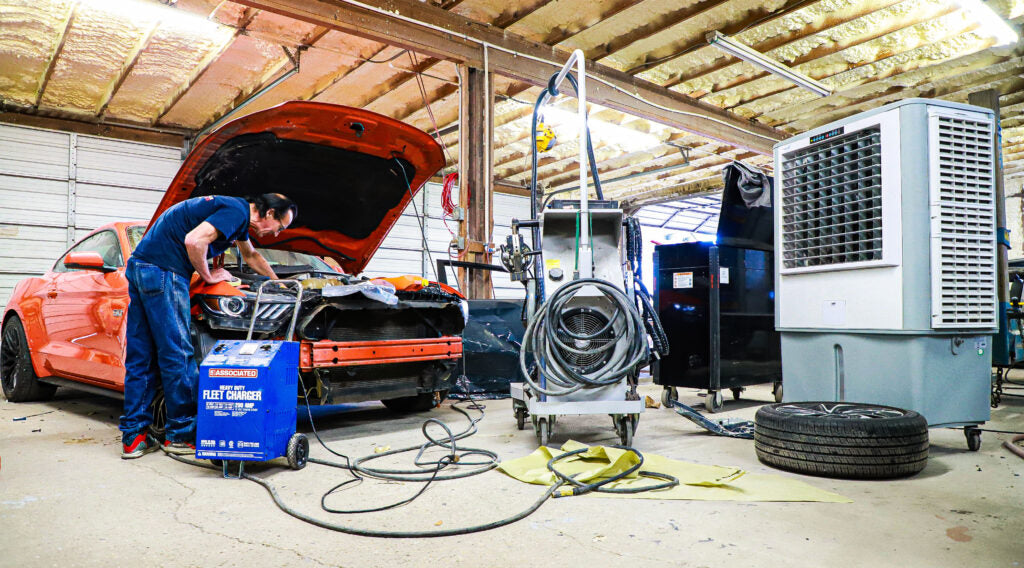
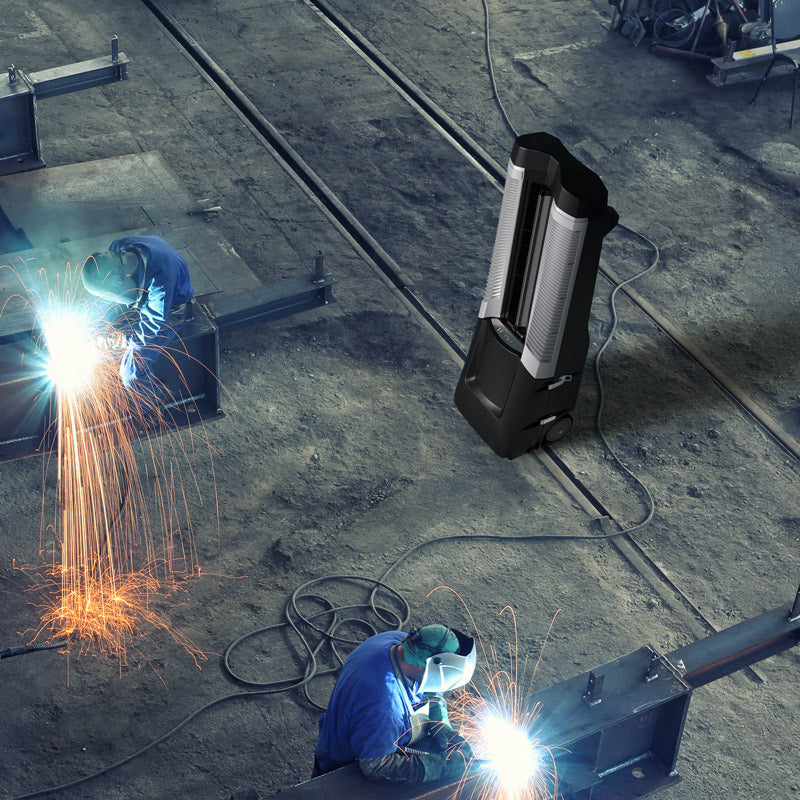
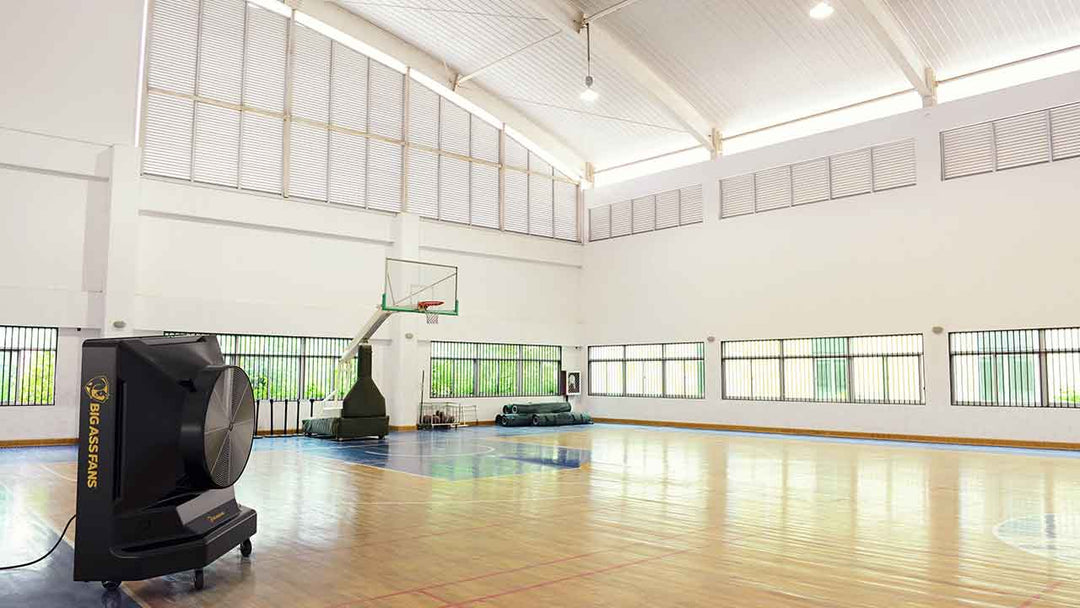
14 Tips for Troubleshooting Problems With Your Swamp Cooler
It’s frustrating when your cooling system isn’t working as it should, especially during the warmer months, when staying cool is a priority. Troubleshooting the problem can get your space feeling comfortable again—plus, it can save you time and money.
Whether you’re dealing with inadequate cooling, strange noises, or inconsistent performance, addressing issues promptly can prevent bigger, costlier problems down the line. Regular maintenance and proactive checks can also extend the life of your system and prevent expensive replacements. Proper care and maintenance are easy when you know how to troubleshoot problems with your swamp cooler.
Check for Power Supply Problems
Begin by confirming that the system is receiving power. Power interruptions are among the simplest yet most common causes of cooling system malfunctions. Look for tripped breakers or blown fuses in your electrical panel. Reset any tripped breakers, and replace fuses if needed. Additionally, inspect the unit’s power cord for visible damage or loose connections. If the system still isn’t powering on, the internal wiring or power supply could be the issue, which may require professional assistance.
Inspect the Thermostat
Your thermostat is the command center of your cooling system, so it’s essential to ensure it’s working properly. Verify that the thermostat is set to the desired temperature and mode (cooling instead of heating or fan-only mode). Sometimes, the culprit is accidentally changing the settings or forgetting to adjust them. If the unit isn’t responding, try replacing the thermostat batteries, and ensure the device is firmly mounted on the wall. If problems persist, the thermostat itself may need repair or replacement.
Examine Water Levels
For cooling systems that rely on water, such as evaporative coolers, water levels are critical to efficient performance. An imbalance in water levels can affect cooling efficiency and lead to system damage over time. Check the reservoir for things that interrupt the flow, such as leaks, cracks, or blockages. If water levels are low, refill the reservoir, and ensure the float valve or pump is functioning correctly. Addressing water issues quickly can prevent further damage.
Clean Dirty Components
Over time, dust and debris can accumulate on components such as filters, fans, and condenser coils, significantly reducing the system’s efficiency. Dirty filters block airflow and force the system to work harder than necessary, which can increase energy consumption and wear.
Remove dirt from filters, fans, and internal components using a soft brush, vacuum, or compressed air. For best results, replace air filters regularly, and clean external components to enhance overall performance.

Listen for Unusual Noises
Strange sounds such as grinding, humming, or rattling often signal mechanical issues within the cooling system. These can include loose screws, worn-out bearings, or malfunctioning motors. Pinpoint the source of the noise, and inspect the system for visible damage. Tighten loose components, and replace worn-out parts as needed. Ignoring unusual noises can lead to bigger issues down the line, so addressing them early is essential.
Inspect for Airflow Restrictions
Poor airflow is a common issue that can result from clogged vents, blocked ductwork, or dirty components. Walk through your system, and remove obstructions, such as furniture or curtains blocking vents. Clean the ducts thoroughly to help air circulate freely. If the problem persists, consult a professional to inspect the ductwork for damage or leaks.
Test the Pump
The pump is a critical component in systems that circulate water, and proper operation is essential for cooling. Inspect the pump to ensure it’s running smoothly without blockages or damage. Clean the pump if necessary, and check for any unusual vibrations, which could indicate internal issues. If the pump is malfunctioning, you must repair or replace it to restore the system’s functionality.
Look for Signs of Corrosion
Metal components exposed to water or moisture are prone to rust and corrosion over time. Inspect these parts closely for signs of wear, discoloration, or structural damage. Corrosion can weaken your system’s integrity and cause leaks or malfunctions. Clean affected areas with rust removers, and replace severely corroded components to maintain the system’s reliability and performance.
Assess Belt Condition
If your cooling system uses a belt to drive components, it’s important to regularly check its condition. Look for cracks, fraying, or looseness, as these can impact the system’s performance or cause it to stop working. A damaged belt is something you should replace promptly, as it’s a relatively inexpensive fix that can dramatically improve your system’s efficiency.
Monitor Temperature Consistency
If certain areas of your space aren’t cooling adequately, the issue may stem from uneven temperature distribution. Check the placement and condition of vents to ensure they’re not blocked or misaligned. Adjust the system settings to improve airflow and coverage in problem areas. In some cases, installing additional vents or upgrading the system’s capacity may be necessary to achieve consistent cooling.
Seal External Leaks
Cool air escaping your space can reduce the efficiency of your cooling system, making it work harder to maintain the desired temperature. Look for gaps or cracks around doors, windows, or other external openings where air could be escaping. Use weatherstripping, caulk, or insulation to seal these areas and enhance the system’s overall performance. This step can also lower your energy costs.
Confirm the Water Quality
For water-based systems, the quality of the water is an often-overlooked factor. Hard water can lead to mineral buildup, clogging components and reducing efficiency over time. Whenever possible, use treated or filtered water to minimize this issue. Regularly descale the system to remove any existing buildup and prevent long-term damage.

Consider the Surrounding Environment
Your cooling system’s performance depends on the environment it’s operating in. Dust, dirt, and humidity can all interfere with its efficiency. Regularly clean the space around your system, and keep vents and intakes clear of debris. In overly humid environments, consider using a dehumidifier to maintain balance and reduce strain on the cooling system.
Perform Routine Maintenance
The best way to keep your cooling system running smoothly is through regular maintenance. Schedule routine inspections to identify and resolve minor issues before they escalate into major problems. Clean components, replace worn parts, and test the system’s performance periodically. Staying proactive can extend the lifespan of your cooling system and save you from costly repairs or replacements.
When you know how to troubleshoot problems with your swamp cooler, you can better identify and address issues with your cooling system, keeping it running efficiently. Common problems such as airflow restrictions, dirty components, and power issues don’t have to be daunting to resolve.
With these practical troubleshooting tips, you’ll gain the knowledge and confidence to maintain your system effectively and prevent future disruptions. Couple that knowledge with the right swamp cooler tablets from Swamp Coolers, and staying cool and keeping your system in top shape will be simple!